Ever found yourself scrolling through Amazon, searching for the perfect paw print ornament kit to capture sweet memories of your furry family member? I know I have! This year, I went on a mission to make paw print ornaments. Here’s what I learned pretty quickly: The secret to creating a lasting keepsake featuring your pup’s precious paws doesn’t lie in a store-bought kit. Instead, it’s right in your own kitchen! After watching a few videos on salt dough Christmas ornaments (and seeing just how easy they are to make), I abandoned my virtual shopping cart and whipped up my own DIY Paw Print Christmas Ornaments at home. They came out too cute not to share!
A Dash of Flour, a Pinch of Salt, and a Splash of Water
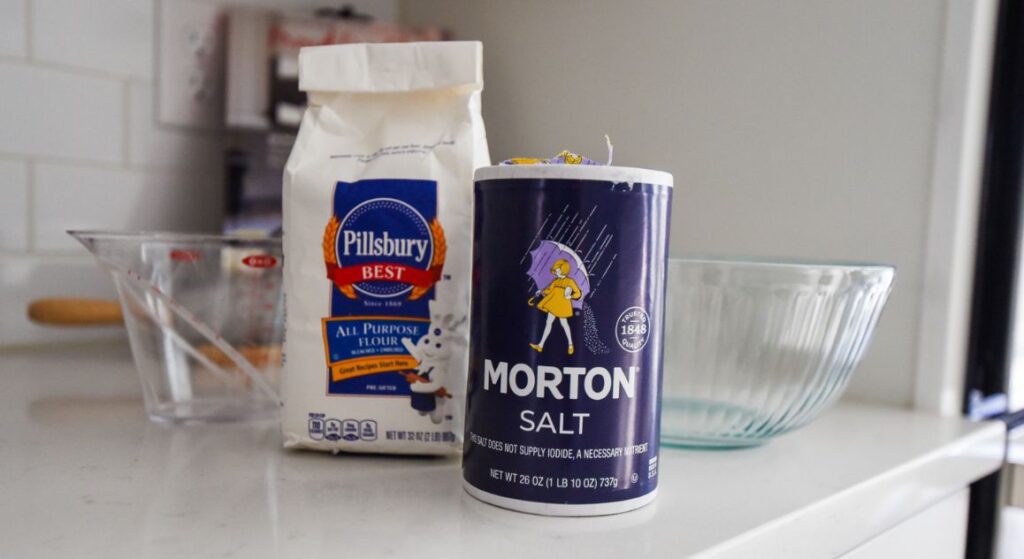
Turns out, these charming keepsakes require nothing more than the basics found in almost every kitchen – all-purpose flour, salt, and water. With just these three ingredients, you can whip up a batch of salt dough that not only beautifully captures your dog’s paw print, but will also last for years to come. The magic? The salt in the mixture acts as a natural preservative, ensuring your ornaments remain a cherished part of your holiday decor for years to come.

While I left mine plain, have some fun with your DIY Paw Print Ornaments by painting them or adding some bedazzles. The possibilities are endless!
Caution: Not a Treat for Furry Friends
When making these ornaments, the process will feel very similar to making homemade dog treats. You start by kneading together a dough, rolling it flat, cutting out your ornament with cookie cutters, and then baking to perfection. But, let me emphasize – these ornaments are strictly for the eyes, not the taste buds. While the ingredients are pretty harmless for humans, the salt content is way too high for our canine companions. So, make sure your pup doesn’t sneak a lick from the bowl. Plus, once these treats are fully baked and ready to hang on the tree, make sure to place them up high …. somewhere your dog can’t reach!
How to Make Your Own Paw Print Christmas Ornaments
What You’ll Need
- 1/2 cup all-purpose flour
- 1/2 cup salt
- 1/4 cup water
- Cookie cutter
- Baking sheet
- Parchment paper
- Rolling pin
- Wire rack
- Ribbon
- Scissors
- Optional: Paint, paint brushes, markers, or other tools to decorate your ornaments
Instructions
- Pre-heat your oven to 200ºF.
- Line a baking sheet with parchment paper. Set aside for later.
- In a mixing bowl, add flour, salt, and water. Use a spoon to stir the ingredients together, until you’re left with a bunch of crumbly bits. Then, knead with your hands, forming a soft dough ball.
- Sandwich the dough ball between two pieces of parchment paper (to avoid sticking). Then, use a rolling pin to flatten your dough (about 1/4″ thick).
- Gently press your pup’s paw into the flattened dough.
- Using a cookie cutter, cut out the paw print and transfer to your prepped baking sheet.
- Before these go into the oven, don’t forget to punch a hole at the top (where you will later string some ribbon). I used a straw to do this, but you can use anything you have handy!
- Bake for about 2 hours.
- Let cool on a wire rack. Once done, they should be fully cooked through and hard.
- Feed a ribbon through the hole created at the top of the ornament and tie.
- Optional: Paint/decorate.