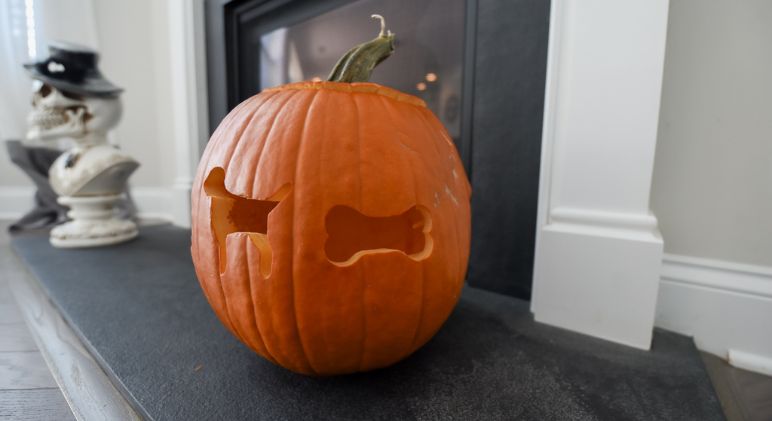
Love carving pumpkins around Halloween time? I’m with you! But, I have a confession: I’m terrible at following pumpkin carving patterns. My once beautiful winter squash winds up looking like a pile of swiss cheese. Perhaps if you close one eye and squint the other, you can see what I was attempting to make 🤣! So, this year, I decided to try the cookie-cutter hack. It’s where you ditch the traditional carving knives and, instead, use cookie cutters to create your pumpkin art. The result: I LOVE IT!
Watch This Easy Pumpkin Carving Hack

Supplies
- Large pumpkin (I first attempted this project with a small pumpkin and found it didn’t have enough surface area. So, instead of a clean cut, the pumpkin cracked in a few places. With that said, I would recommend using a large pumpkin.)
- Knife
- Spoon
- Dog-shaped metal cookie cutters (the larger the cookie cutter, the easier it will be)
- Rubber mallet (Opt for one that’s lightweight and easy to swing)
- Battery-powered tea lights
Directions
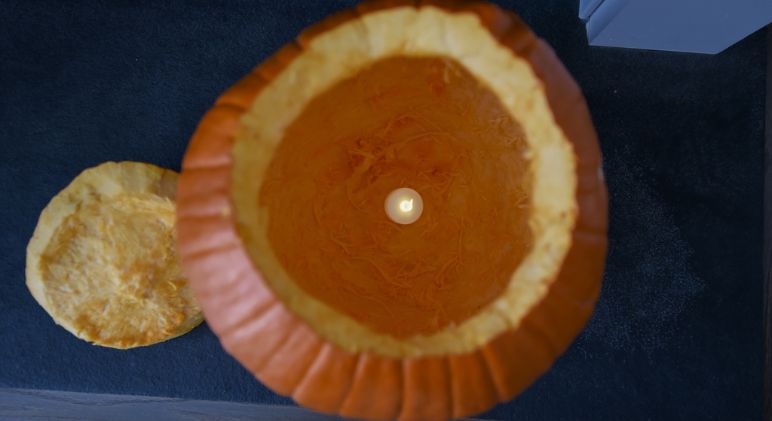
- Using a knife, carve a hole in the top of your pumpkin (around the stem). Then, remove the top.
- Use a spoon to scoop out the seeds and a layer of fibrous strands. This project is really easy when you thin out the fibrous strands first, so don’t skimp on the scooping.
- Place your cookie cutter in your desired spot and use a mallet to push it through the pumpkin. Begin by hitting the cookie cutter in one corner, until it digs into the outer layer of the pumpkin and stays in place. Then, hit all corners and sides evenly, as you continue pushing the cookie cutter into the pumpkin.
- If your shape seems stuck, go back to Step 2 and scoop out additional fibrous strands. If needed, use the back of your mallet to push the shape through.
- When placing your second and third cookie cutters, leave plenty of space between each shape. When placed too close, the pumpkin will weaken and crack.
- Once finished “carving,” place your tea light inside!